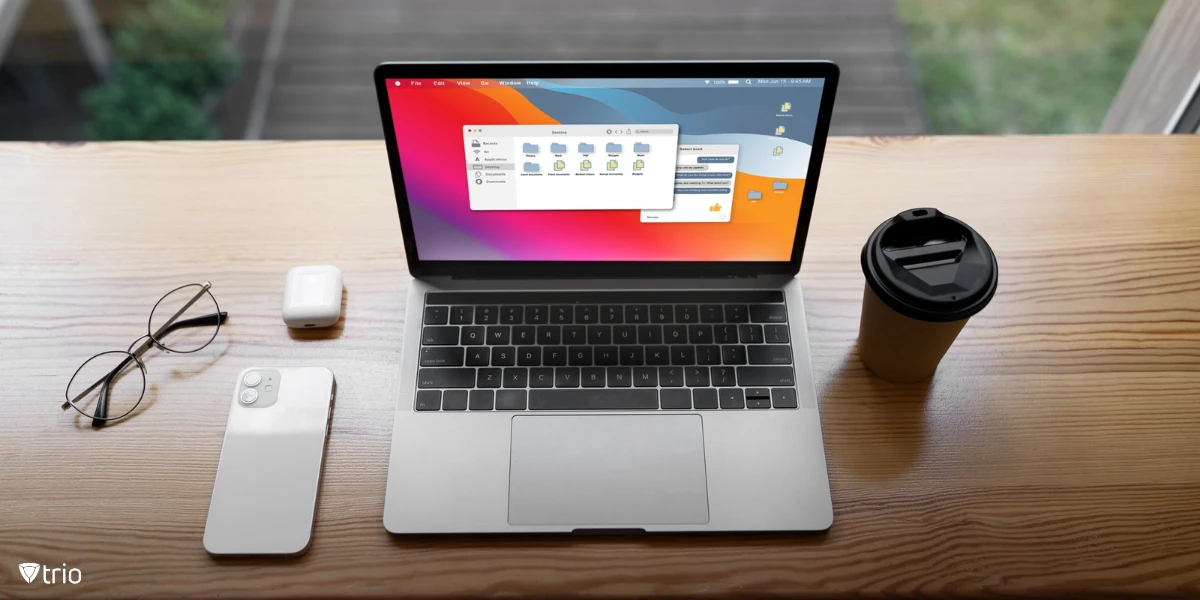
Many Mac users overlook the power of System Preferences, yet it’s the heart of your operating system’s customization. Mastering System Preferences on macOS can take your everyday experience from standard to extraordinary, giving you control over every aspect, from display settings to security.
System Preferences isn’t just another app—it’s where you handle crucial preference settings, from managing user accounts to installing software updates. It also connects to your Apple ID for features like Family Sharing. Efficiently managing these settings, particularly in a work environment, enhances productivity and improves device configuration management, especially with MDM config.
Whether you’re looking to access system preferences or find where it’s tucked away, we’ll break down easy-to-follow steps to open System Preferences (renamed to System Settings in the latest macOS). We’ll also highlight how power users and businesses can maximize the best Apple MDM tools for advanced customization.
Method 1: Use the Apple Menu
If you want the quickest and easiest way to access your Mac’s settings, the Apple Menu is the way to go. Look to the top-left corner of the window, and you’ll find the iconic Apple logo in the menu bar. It’s your one-stop spot for quick actions, like when you need to open System Preferences.
Click the Apple icon in the menu bar. A dropdown menu will appear; choose “System Preferences.” Boom – you’re in. If you’re looking to figure out how to open System Preferences on a MacBook Air, this method works like a charm on all Mac devices.
Why this method? For most users, it’s a habit to use that Apple Menu. You won’t need to memorize shortcuts or go hunting. If you’re asking yourself, “why can’t I find System Preferences on Mac?” it could be a minor issue with the software update – a simple restart often fixes this.

Method 2: Spotlight Search
So, how to open System Preferences on a Mac with the keyboard? Spotlight is your answer. It’s faster than a click, especially if your fingers are already on the keyboard – you can find and access System Preferences in seconds flat.
For the speed demons out there, try Spotlight Search this way. With one press of Command + Space, the search field appears. Type “System Preferences,” and there it is, ready to open. This approach is perfect for those who value speed over all else.
Method 3: Add System Preferences to Your Dock
If you want even quicker access, add System Preferences to your Dock. Find the System Preferences icon through the Apple Menu or Spotlight. Once found, simply drag and drop it onto your Dock – a set app shortcut ready for one-click access.
This method is ideal for those constantly adjusting settings or managing multiple devices, like IT managers who use MDM to keep systems secure. You won’t need to search or use the menu bar every time – it’s right there, making your Mac experience smoother.
Want to stay efficient? Adding System Preferences to the Dock means instant access, even in the middle of other tasks. This quick drag-and-drop action can save time and effort in the long run.

Method 4: Use Keyboard Shortcuts and Automate the Process
Power users, it’s time to level up. If you’re looking to save every second, consider using automation tools or keyboard shortcuts to open System Preferences. With the macOS terminal profile, you can create custom shortcuts that fit your workflow seamlessly.
For advanced users, tools like Automator or the PPPC utility can streamline access. Whether you’re a Mac administrator managing several devices or an IT manager tweaking settings across a network, these methods are goldmines for efficiency.
Want to boost your productivity? Automating the process also allows you to skip those repetitive steps, getting you directly to System Preferences. It’s all about making your workflow smarter, especially when every click matters.
Method 5: Go Directly to Key Settings From the Apple Menu
Looking to adjust a specific setting fast? You can skip the main System Preferences window and dive directly into the section you need. For example, hold down the Option key while clicking the Wi-Fi icon in the menu bar, and you’ll jump right into Network preferences. Quick and efficient.
Another example: If you’re often tweaking your printer settings, go straight to “Printers & Scanners” by using the right-click method from the Apple Menu. Or, for Mac System Preferences Security and Privacy settings, head directly to preferences privacy to manage app access and permissions in the left sidebar.
This is a great way to save time when troubleshooting issues – whether it’s adjusting software updates, setting up user accounts, or even dealing with network problems. If you’re working in an environment with remote control or managed devices, direct access to these settings means quicker fixes and smoother adjustments.
For workplaces that use MDM solutions, going straight to the specific preference panels can simplify day-to-day tasks. Whether you need to manage mac system preferences security and privacy or quickly check printers and scanners, this method keeps things running smoothly.
Trio: Enhancing Mac Management Like a Pro
When managing multiple Macs, knowing how to open System Preferences efficiently is crucial. Trio MDM enhances this experience by offering centralized control, live monitoring, and automated device management. For IT managers or power users, mastering System Preferences is key – and with Trio, you can do so effortlessly. Try the free demo for seamless Mac management tailored to your needs.
Conclusion: Why Efficient Access to System Preferences Matters
Mastering System Preferences boosts control over your operating system, whether tweaking default settings or optimizing your digital workspace. For managing multiple iOS devices, it ties directly into MDM solutions, making device management smoother. Explore these options and experiment to fully unlock your Mac’s capabilities.